
In our final lesson for Course 2, we add three more pages to our website and then use CSS Grid to create a horizontal menu linking all of our web pages together into a complete business website.
Step 1: Create an About Us Web Page
Open Bluefish and add a new file using the HTML 5 template. Add the following between the body tags:
<h2> This is our Story</h2>
<p>We will eventually write a story on this web page explaining who we are and why we started our new business</p>
Save the file in your business website folder as about-us.html.
Step 2: Create a Contact Us Web Page
Add another new file using the HTML 5 template. Add the following between the body tags:
<h2> How to Contact Us</h2>
<p>We will eventually add our business Gmail address and/or other information explaining how folks can contact us. </p>
Save the file in your business website folder as contact-us.html.
Step 3: Create a Support Our Business Web Page
Add another new file using the HTML 5 template. Add the following between the body tags:
<h2> How to Help Our Business Grow</h2>
<p>We will eventually add information about how folks who like our business idea and want to help us can contribute to our business. </p>
Save the file in your business website folder as support-us.html.
Step 4: Add a Navigation Section to your Support Us page.
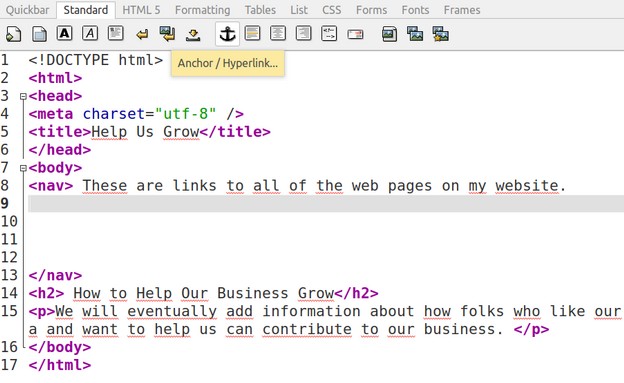
Just below the body opening tag, create a new line. Then add the following
<nav> These are links to all of the web pages on my website. </nav>
Then use enter on your keyboard to create several new lines just above the closing nav tag.
Step 5: Create an Unordered List with Four List Items
All menus consist of an unordered list with several list items. Put your cursor at line 9. Then type an opening tag followed by a lower case u. Select the unordered list tag pair and press Enter. Then press enter four more times to create four new lines. Then type an opening tag followed by a lower case l. Select the list item tag pair and press Enter. Between the tags, type HOME. Then on line 11, add another list item tag pair and type ABOUT US. Repeat on lines 12 and 13 to add CONTACT US and SUPPORT US. Here is what the HTML for your navigation section now looks like:
<nav> These are links to all of the web pages on my website.
<ul>
<li>HOME</li>
<li>ABOUT US</li>
<li>CONTACT US</li>
<li>SUPPORT US</li>
</ul></nav>
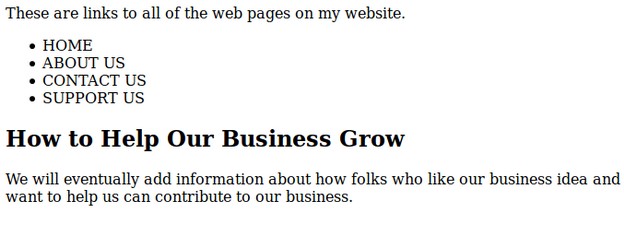
Save the file and view the page with your web browser.
Step 6 Add Internal Links to Each List Item
Use your cursor to select the word HOME on line 10 . Then click on the Anchor in the Tool Bar to add a new link.

Click on the File icon in the upper right corner to access your file manager. Then navigate to your index.html file. Select it. Then change the target to _blank. Name it HOME. Then click OK. Repeat this process to add links to your three new pages on lines 11, 12 and 13.
Here is what our Navigation HTML section now looks like:
<nav> These are links to all of the web pages on my website.
<ul>
<li><a href="/index.html" target="_blank" name="HOME">HOME</a></li>
<li><a href="/about-us.html" target="_blank" name="ABOUT US">ABOUT US</a></li>
<li><a href="/contact-us.html" target="_blank" name="CONTACT US">CONTACT US</a></li>
<li><a href="/support-us.html" target="_blank" name="SUPPORT US">SUPPORT US</a></li>
</ul></nav>
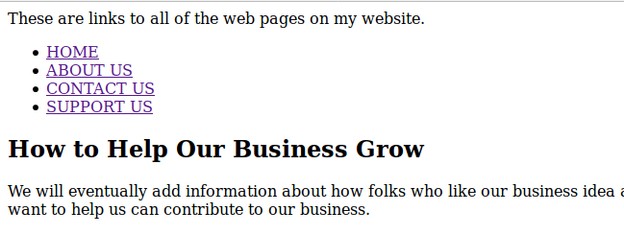
Save the file and view it with your web browser.
Step 7 Add CSS Grid to the Navigation Parent Container
Adding CSS Grid to any parent container will add CSS Grid properties to all of the child elements that are inside of the parent container. In the case of our navigation menu, the parent container is the Unordered List opening tag and the child elements are the four list items. So add this style section to the head of our file just below the title:
<style type="text/css">
ul { background: #9999ff; padding: 10px;
list-style-type: none;
display: grid; grid-gap: 10px;
grid-template-columns: repeat(4, 1fr);
justify-items: center;}
li a { text-decoration: none; font-size: 20px; font-weight: bold;}
</style>
Save the file and view with your browser:

You now have have a menu displayed on the Support Us page. To get this same menu on our other pages, we need to do two things:
First, we need to copy and paste the HTML to the HTML sections of our other three pages. Second, we need to copy and paste the Style to the Style sections of our other three pages. When you are done, the HOME page of your website should look something like this:
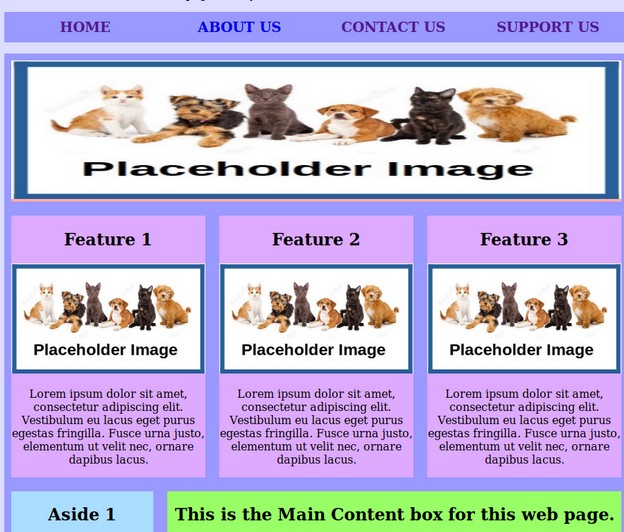
You can test the links to all four pages using your new menu to navigate between pages. Congratulations! You now have a complete business website!
What’s Next?
This completes our second of three courses on starting your own business. In our next course, we will we learn how to add several free marketing tools available on the Internet to promote our new business and generate traffic for our new business website. These tools include setting up a business Gmail address and then using it to create a free Gitlab business website hosting account as well as a business Facebook page and a business YouTube channel. We will conclude the third course by explaining how to apply to Shark Tank to get more funding and exposure for your new business.