
The first step in designing your business website pages is to divide the web pages into a series of sections called Divides.
How to Create a Divide
So far, the only tags we have used on our index.html file have been the paragraph tag, the heading tag and the image tag. We are now going to add the divide tag – also called the div tag. The divide tag is used to divide a page up into sections. Each section can have its own heading and paragraph tags. The divide tag pair looks like this:
<div></div>.
The divide tag is similar to the paragraph tag in that it is a block element – meaning that it forms a new line – as opposed to an inline element, like the span tag or anchor (link) tag, that does not form a new line.
One use of a divide tag is to create an independent section of the website that has its own style and appearance. CSS is used to create this style.
There is also something called the Box Model that is used to style divides.
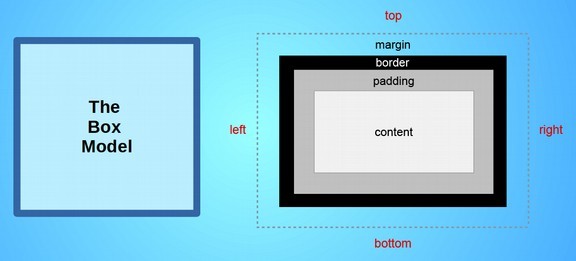
The box model starts with visible content such as text and images that is surrounded by invisible padding which in turn is surrounded by a visible border which in turn is surrounded by an invisible margin. The box has four sides called top, right, bottom and left.
To see what this looks like, open our index.html file with our Bluefish Editor. Then create a new line below the image. Type: This is a paragraph inside of a divide.
Then select this line and place paragraph tags around it by clicking on the Tags menu item, Format General, Paragraph. Then select the entire line including the paragraph tags and put divide tags around it by clicking on the Tags menu item, MISC, DIV . Here is what this line now looks like:

Note that the paragraph tags are “nested” inside of the divide tags. Next carefully place your cursor inside of the opening div tag just to the right of the letter v. Then press your keyboard to enter one space. Then start typing the word style. The style popup will appear. Press Enter with your keyboard. Here is what our divide now looks like:

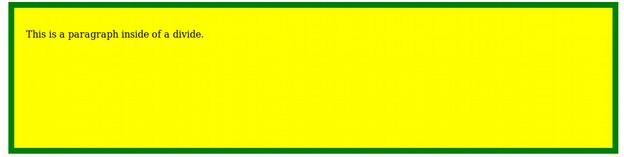
Carefully place your cursor inside of the quotation marks. Then copy and paste the following CSS 8 properties between the quotation marks:
background-color: yellow; height: 100px; width: 70%; margin: 0 auto; padding: 20px; border-style: solid; border-width: 10px; border-color: green;
Here is what our divide now looks like:

Click File Save. Then click to see our Home page in our web browser.
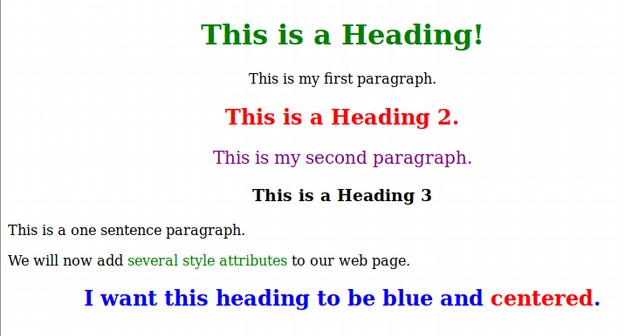
We can make the text bigger by adding the following style to our opening paragraph tag: style="font-size: 24px; text-align: center;"
Here is the Divide in Bluefish:

Click File, Save then view the result in your browser.

You can see that adding a lot of HTML attributes can really clutter up the HTML and make it much harder to see the structure of our website. A long time ago, website developers realized this was a big problem.
They concluded that the body of an HTML document should only be used for content and structure. The appearance should be separated and placed in a style sheet inside the head of our document. This will allow us to change the content without changing the appearance – or change the appearance without changing the content. It will also allow us to have the same appearance on several pages without having to type in all of these style attributes every time we added a new page or a new divide.