
The goals for today’s lesson are to:
1. Create an HTML root folder.
2. Understand a few HTML terms.
3. Create your first web page with a Text Editor.
Use your File Manager to Create Your Website Root Folder
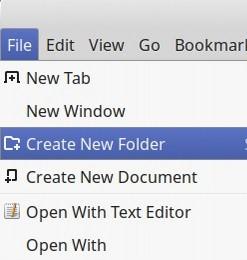
The first step in building any website is to create a website root folder. A website root folder is the folder that holds all of the documents used to make your website. We are going to do that now. Open Your File Manager and create a folder called My First Website. There are two ways you can create a new folder with your file manager. The first way is to go to your file manager top menu and click File, Create New Folder:
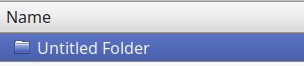
This will place a folder in your file manager called Untitled Folder.
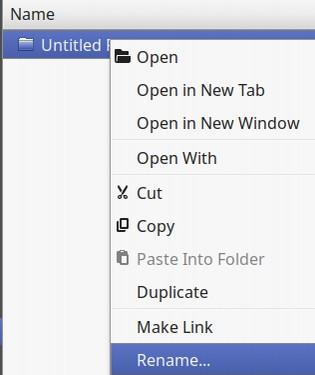
You can rename this folder by right clicking on it. Then select Rename.
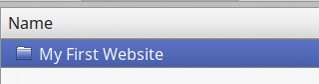
Select and delete the old name. Then type in My First Website as the new name for the folder. Then press Enter on your keyboard to confirm the new name.
A second way to make a new folder is to right click anywhere in the File Manager white workspace.
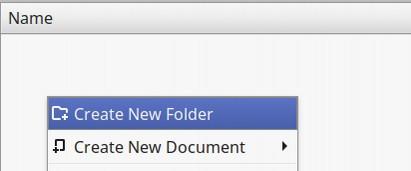
Then click Create New Folder. This will place a new folder called Untitled Folder in the workspace. Right click on this folder and click Rename. Then name the folder My First Website.
Place an images folder in your website root folder
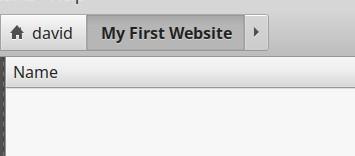
Whichever way you use to create a new folder, to open the folder, simply double click on this folder. There will be nothing in this folder to start.
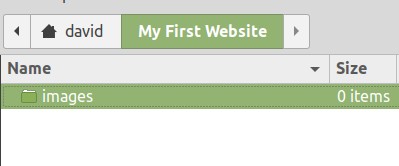
Right click on the workspace and click Create New Folder. Name this folder css (use lower case letters). Then press Enter on your keyboard to confirm the new name. Then right click on the workspace again and click Create New Folder. Name this second folder images. Then press Enter on your keyboard to confirm the new name. Your Website Root folder will look like the following.
How to Name Folders and Files
Note that other than the website root folder, the folder name above uses only lower case letters. File names should also only use lower case letters. Avoid using capital letters with either folder or file names. If there is more than one word in a folder or file name, the file should ideally use dashes between the lower case words. For example, name the file about-us.html. You can also use lower case names with no spaces, for example aboutus.html. In addition to avoiding the use of capital letters, you should avoid using folder names or file names with spaces or dots or underscore marks between the names. Avoid about us.html or about_us.html or about.us.html.
Once we have our website root folder, we are ready to create our first web page. But before we do that, let’s first learn some important website terms.
HTML Structure
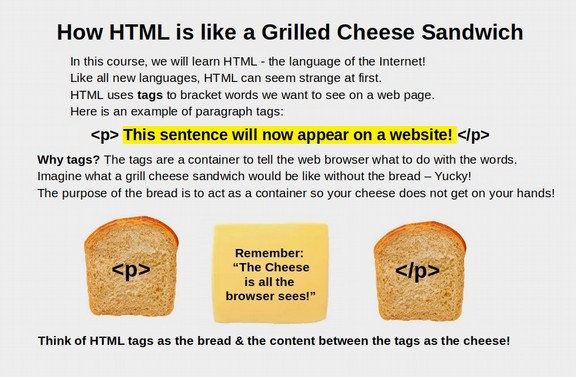
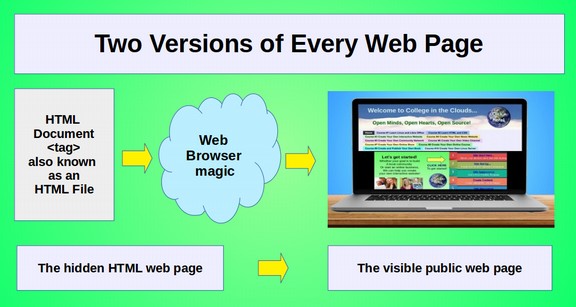
This book is in the English language. You can read this because you know English. Computers use languages just like people do. HTML is the computer language we use to build a website. There are literally billions of web pages made using HTML. The way you write HTML is just a little bit different from English. Writing in the HTML language just means you have to put < > around your words. These are called tags. HTML uses opening and closing tags to tell the browser how you want your website to look to people. When you make a website, whatever you write inside the <p> tags goes on your website. If you write <p> Hello </p> on the place where you are making your website, you will see the word Hello on your website. Look at the image below:
Every page on the internet comes in two versions. There is the colorful page you see when you go to a website – and the actual page written in HTML.
Make a New HTML File with your File Manager
Each page on our website will have its own HTML file. The first and most important file for any website is called index.html. This file is important because it holds the content for the Home page of our website. We can make this file or any other HTML file with either our file manager or the Bluefish Web Editor. We will first learn how to make web page files with our file manager. Let’s do that now. Open your website root folder, My First Website, and right click on the screen. Click Create New Document.
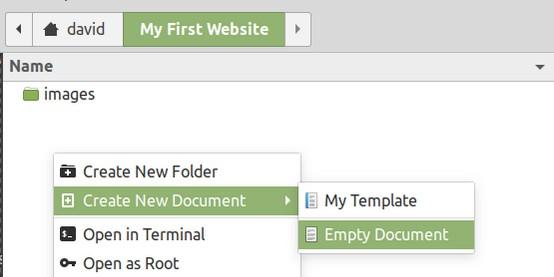
This will bring up a second option. Click Empty Document.
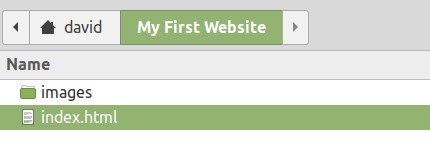
This will place a new document called Untitled Document in the workspace. Right click on this document and click Rename. Then name the document index.html. Then press Enter on your keyboard to confirm the new name.
Before we can see what our HTML file looks like with a web browser, we will need to add content – such as a typing a sentence – into it. Right click on index.html. Then click Open with Text Editor. A text editor is a simple version of a Web Editor.
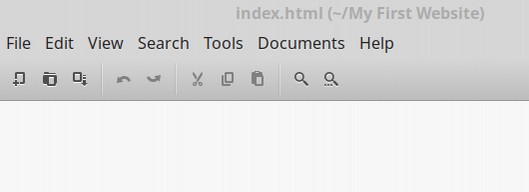
There is nothing in this document. In the text editor work space type, This is my first web page! Then click File Save. Then click File Close. Right click on index.html again. This time click Open With (Firefox or whatever your default web browser is).
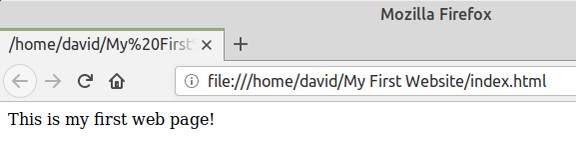
Your web browser will open any file that has dot html at the end of the name. While you have created your first web page, it is only text. It has no style. To make the web page prettier- have different size fonts and some color, we will need to add HTML tags. We could add HTML tags with our text editor. Let’s give it a try to see how it is done.
Add HTML tags with our text editor
Close your browser and re-open the index.html file with your text editor. Type a new sentence. This time put HTML heading tags before and after the sentence. The opening tag or tag at the beginning of the sentence will look like this: <h1>
The closing tag or tag at the end of the sentence will look like this: </h1>. Note the forward slash after the greater than bracket.
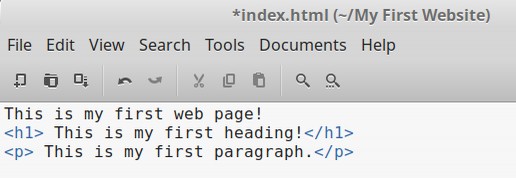
Here is what the complete sentence should look like.
<h1> This is my first heading!</h1>
Then add a sentence with paragraph tags:
<p> This is my first paragraph.</p>
Here is what our text editor workspace now looks like:
Click File Save, File Close. Then right click on your index.html file and open it with your web browser again.
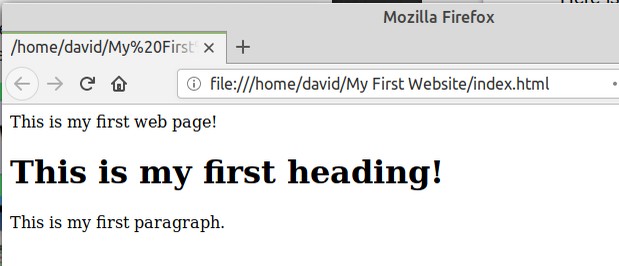
HTML tags help the web browser tell what kinds of sentence each sentence needs to be. Once the web browser saw that one of the sentences had heading tags, the web browser made that sentence bigger than the other sentences.
What’s Next?
Creating lots of HTML opening and closing tags with a Text Editor can be a major hassle. This is why in the next lesson, we will use the Bluefish HTML Editor to create our web pages. Bluefish will create the opening and closing tags for us.