
This is a review of the website creation skills we covered in our first course.
Step 1: Open your file manager and create a website root folder.
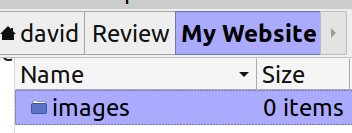
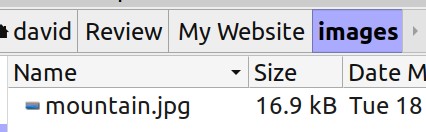
Call the website root folder My Website. Also create your images folder, Here is what your website folder looks like with the empty website images folder in it. Then close your file manager.
Step 2: Open Bluefish and type your website header and first paragraph.
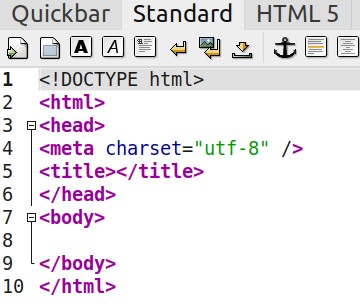
Here is what the bluefish initial HTML 5 screen looks like:
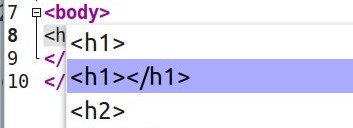
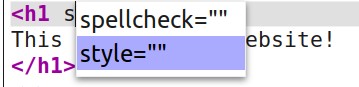
Notice the blank line at line 8. Place your cursor here. Then use the Bluefish Code Completion tool to create your heading tags. Type an opening bracket (shift plus left pointing arrow). Then type a lower case h. Here is what your Bluefish screen will look like:
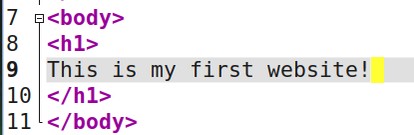
Select the h1 tag pair (with opening and closing tags) by clicking on it. Then click Enter on your keyboard. Then with your cursor still between the two tags, hit Enter on your keyboard a couple more times to create a couple of lines of space between the opening and closing tag. Then type on Line 9 (without the quotes): “This is my first website!” Here is what your Bluefish screen now looks like:
Then place your cursor at the end of the closing tag on line 10 and press Enter on your keyboard to create a new blank line 11. Then use the Bluefish Code Completion tool to create your paragraph tags. Type an opening bracket (shift plus left pointing arrow). Then type a lower case p. Here is what your Bluefish screen will look like:
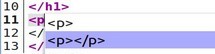
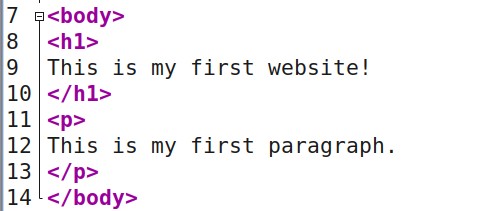
Select the paragraph tag pair (with opening and closing tags) by clicking on it. Then click Enter on your keyboard. Then with your cursor still between the two tags, hit Enter on your keyboard a couple more times to create a couple of lines of space between the opening and closing tag. Then type on Line 12: This is my first paragraph.
Here is what your Bluefish screen now looks like:
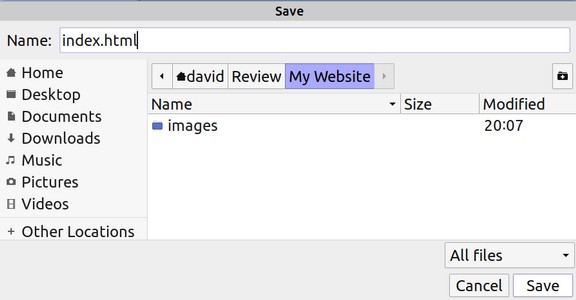
Click File > Save to bring up your file manager with the name Untitled.
Scroll down and find your website home folder and click on it to open it. Then change the name to index.html in the upper left corner and click Save in the lower right corner.
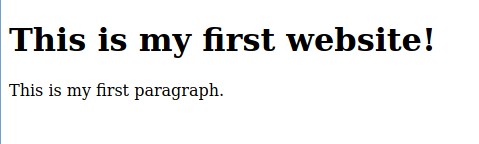
The file name index.html will now appear in the top of your Bluefish Editor. Click on the Blue Globe in the first row of the editor icons to view your new website in Firefox.
Step 3: Change the colo of your Heading text.
Carefully place your cursor just after the h1 and before the closing bracket in your header opening tag.

Then type a space with your keyboard. Then type a lower case s. Here is what the bluefish screen will look like:
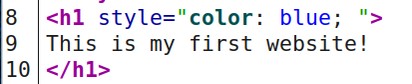
Select the word style by clicking on it. Then press Enter with your keyboard. With the cursor now inside of the quotation marks, begin typing the word color. The color option will appear. Click on it to select it. Then press Enter on your keyboard. This will place the word color followed by a colon on the line followed by a space. Next start typing the word blue. When you see the word blue, click on it to select it. Then press Enter on your keyboard. This will place the word blue followed by a semi-colon on the line. Here is what your screen will look like:
Click File Save. Then click on the blue globe to view the result.

Step 4: Change the size of your Paragraph text
Close your web browser. Then in the bluefish editor, carefully place your cursor just to the right of the lower case p in the opening tag. Then press space on your keyboard to create a single space. Then type a lower case s. Then click on the word style when it appears. Then press Enter.
With your cursor still in between the quotation marks, begin typing the word font. This is what your screen will look like:
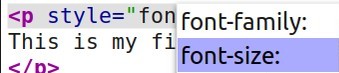
When you see the word font-size, click on it to select it. Then click Enter on your keyboard to place it on the line. Then type
24px;
Do not forget to put the semi-colon at the end. Then click File Save and click on the blue globe to view the result.

Step 5: Capture an image with Shutter.
Close your web browser and click on shutter (blue wheel icon) in your task bar to open it.
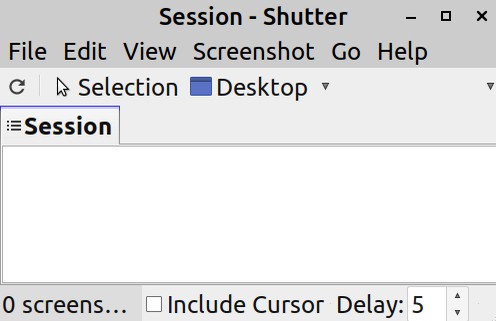
We will take a screen shot of a portion of your desktop. To do this, click on the word Selection.
Then create a box by clicking on the upper left corner of the area you want to capture. Hold the left pointer of your mouse down and drag the pointer down and to the right. Then double click on the lower right corner of the area you want to capture. Here an image of a portion of my desktop. This image will be placed in your computer clipboard:

Note: You can also left click on any image on the Internet and then right click to copy it to your computer clip board.
Step 6: Compress your Image with Libre Writer
Open Libre Writer and paste your image into the blank writer document.
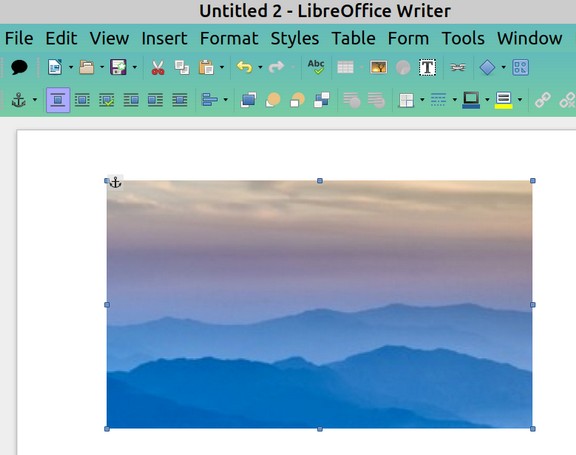
Right click on this image and then click on the word compress.
This complex screen will appear:
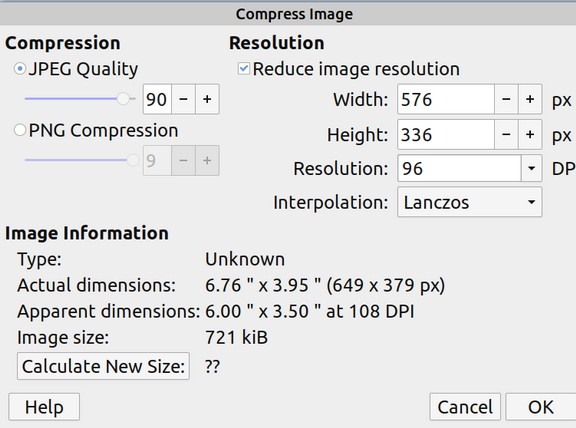
Do not change anything on this screen. Simply click OK in the lower right corner of the screen.
Step 7: Save your Image with Libre Writer
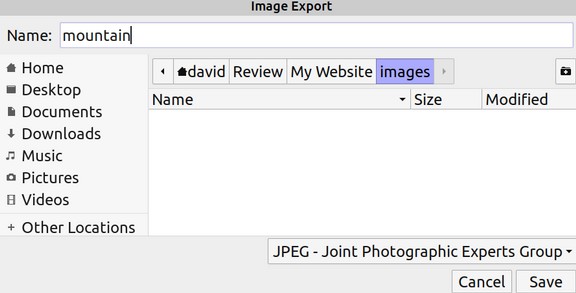
Right click on the image again. This time click SAVE. This will bring up the Image Export screen. Click on the Home folder (called David). Then click on your website folder to open it and click on your images folder to open it. Give the image a descriptive name – but make sure the name uses lower case letters and has no spaces in the name:
Then click Save which brings up this screen:
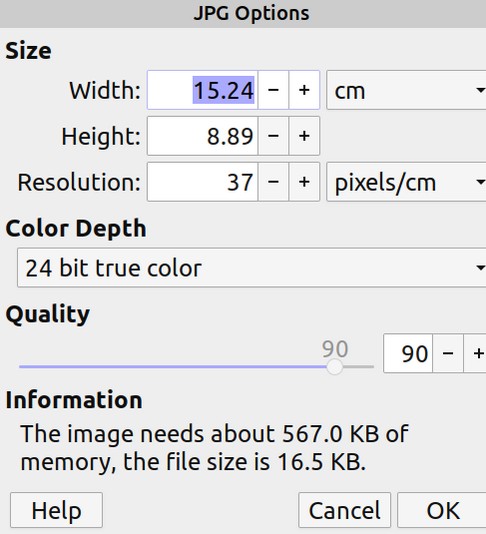
Do not change anything. Just click OK in the lower right corner. You can now close the Writer document. There is no need to save it. Then open the images folder in your website folder to confirm that an image is now in this folder.
Step 8: Use the Bluefish Image Wizard to Insert your Image
On the Bluefish screen, carefully place your cursor at the end of the heading 1 closing tag. Then press Enter a couple of times with your keyboard to create a couple of new blank lines. Then in the Standard tab click on the third to the last icon which is a single picture. This brings up the Insert Image Wizard.
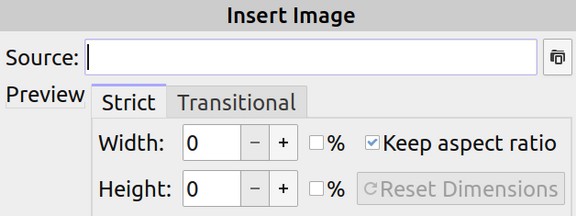
Click on the tiny folder in the upper right corner. This will open your website folder. Click on the images folder to open it. Then click on the image you want to insert and click Open in the lower right corner. This will insert your image into the wizard:
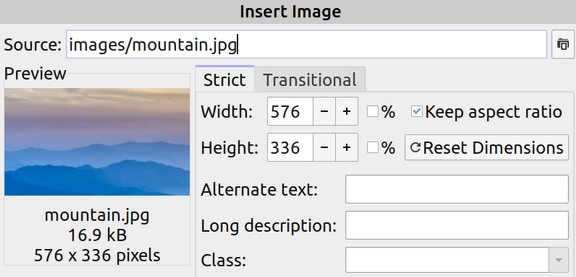
Add a short description to the Alternate text. Then click OK in the lower right corner. Here is what the bluefish screen now looks like:

Click File Save. Then click on the blue globe to view the result.
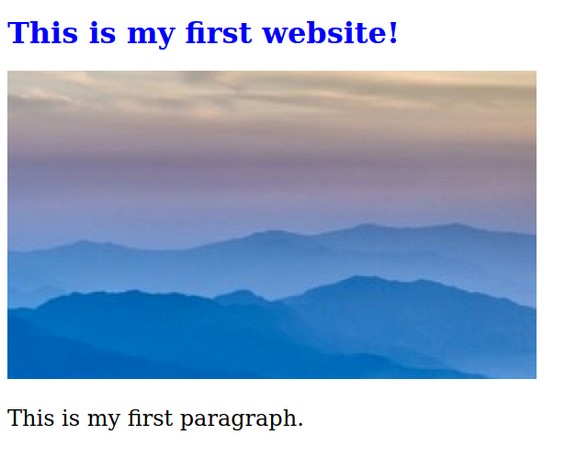
Move the browser screen in to make it narrower. You will see that there is a problem with this image. It does not get smaller as the browser window gets smaller. A part of the image gets cut off.
Step 9: Make the image responsive
The problem is that the image is a fixed width. Carefully place your cursor at the end of the quote in the word height. Then delete the text to the first quote mark in the word width. Here is what your screen will look like:

Type 80% followed by a quotation mark. It will look like width=”80%”
Then click File Save and click on the blue globe to view the result. Move the browser window edge to make it narrower and watch the image now get smaller as the browser window gets narrower. There is still one problem. We want to center our image in the window.
Step 10: Center the image in the browser window
Just after the g in the image opening tag, type a space. Then start typing the word style. When you see the word click on it. Then press Enter. Then start typing the word display. When you see the word click on it. Then press Enter. Then start typing the word block. When you see the word click on it. Then press Enter. Then start typing the word margin. When you see the word click on it. Then press Enter. Then type 0 auto. When you see the word auto click on it. Then press Enter. Here is the screen:

Click File Save then click on the blue globe to view the result.
Step 11: Center the heading in the browser window.
We should also center the heading. At the end of the word blue after the semi-colon, type a single space. Then begin typing the word text. When you see the word text-align, click on it to select it. Then press Enter. Then begin typing the word center. When you see the word click on it to select it. Then press Enter. Click File Save then click on the blue globe to view the result.
Question: How can we also center the paragraph text?